This post may include affiliate links. If you click and purchase, I may receive a small commission at no extra cost to you. As an Amazon Associate I earn from qualifying purchases.
This post is all about under the kitchen sink organization.
Wondering what’s the best way to maximize space and organize under the kitchen sink? Look no further! Keep your kitchen sink area organized and clean with these great organization tips and Amazon products!
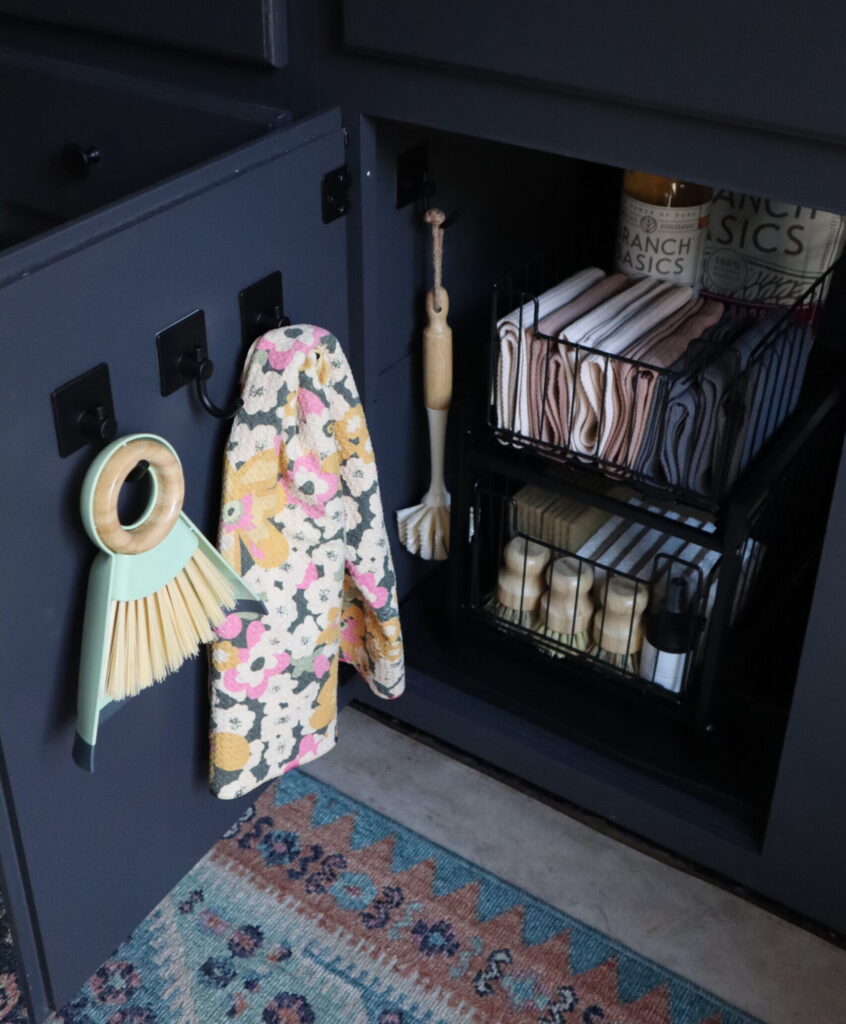
The cabinet under the kitchen sink is one of the most used cabinets in my kitchen. It also tends to get the most unorganized and dirty. It was time to completely re-do and re-organize this cabinet and I wanted to share the best organization tips and items from Amazon. I chose to toss the acrylic plastic bins I had been using and opted for metal shelves and baskets instead.
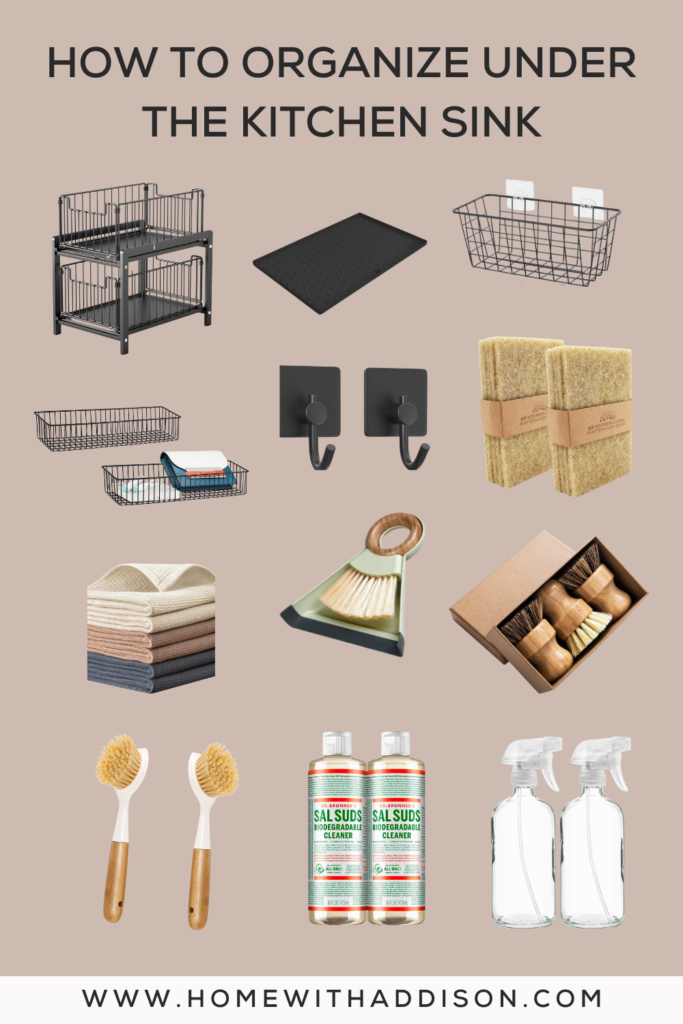
How to Organize Under the Kitchen Sink
Step 1: Clear Out, Clean & Take Measurements
The first thing you want to do is completely clear out the cabinet and clean the space thoroughly. For me, this is the cabinet that gets the most dirty in my kitchen because I tend to just throw all my cleaning stuff in it and probably only clean it out about once a year. After the cabinet is completely clean and wiped down, take some measurements to figure out what all you can fit in it. Make sure to take into consideration the location of plumbing pipes and garbage disposal. For reference, the size of my cabinet is 34″L x 22″ W.
Step 2: Take Inventory of Supplies & Order New Items
Next, go through all of your cleaning supplies and get rid of everything you don’t use or anything that is used up. Something that I’ve really been focusing on is getting rid of all plastic in my home and switching to more natural, non-toxic products. This is one of the reasons why I chose metal wire baskets instead of the acrylic plastic organizers but also because I find that plastic gets so dirty and it never looks as new as when you first buy it! Make a list of all the items you need such as dish soap, hand soap, sponges, paper towels, scrubbers, dish towels, shelves, storage baskets, etc. When choosing organization shelves/bins/baskets, make sure to look at the measurements of items to make sure they will fit in your cabinet.
Step 3: Lay Down Protective Mat & Organize Cleaning Supplies
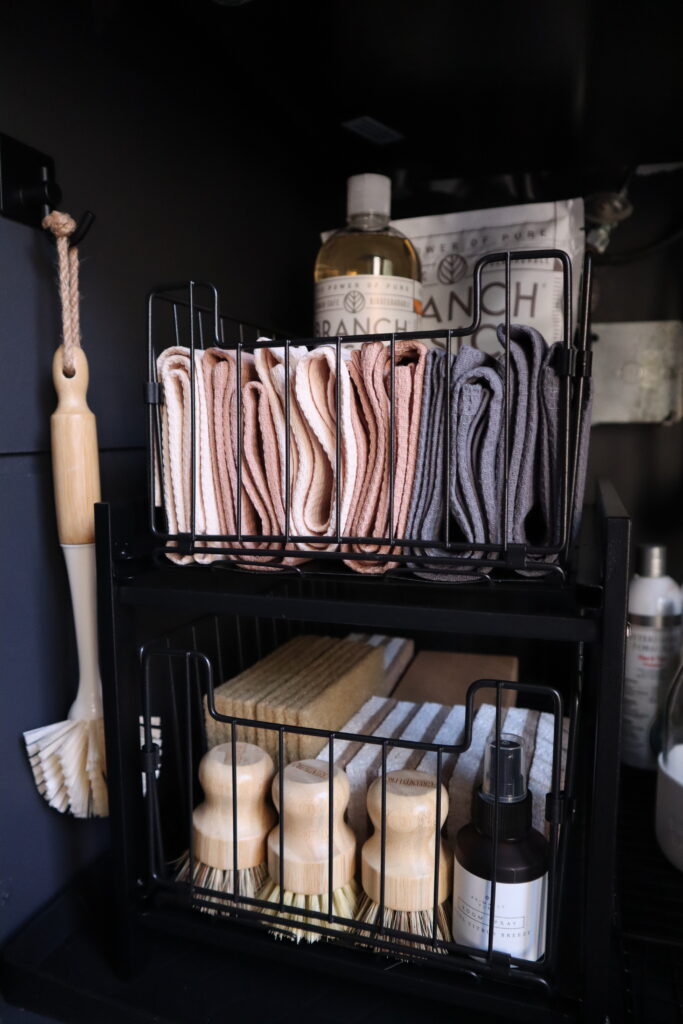
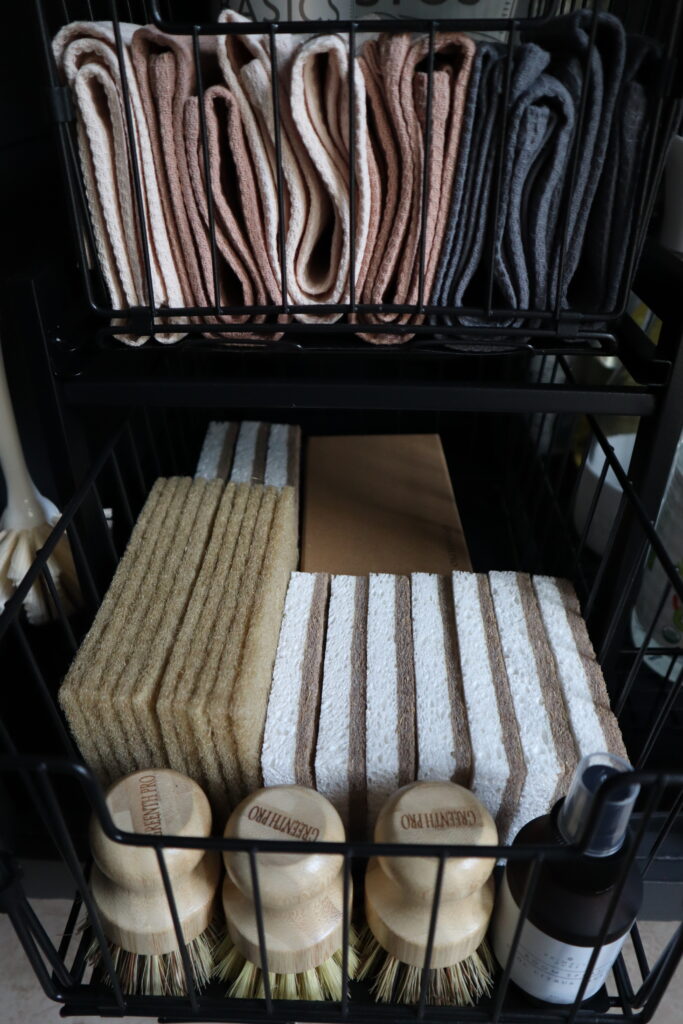
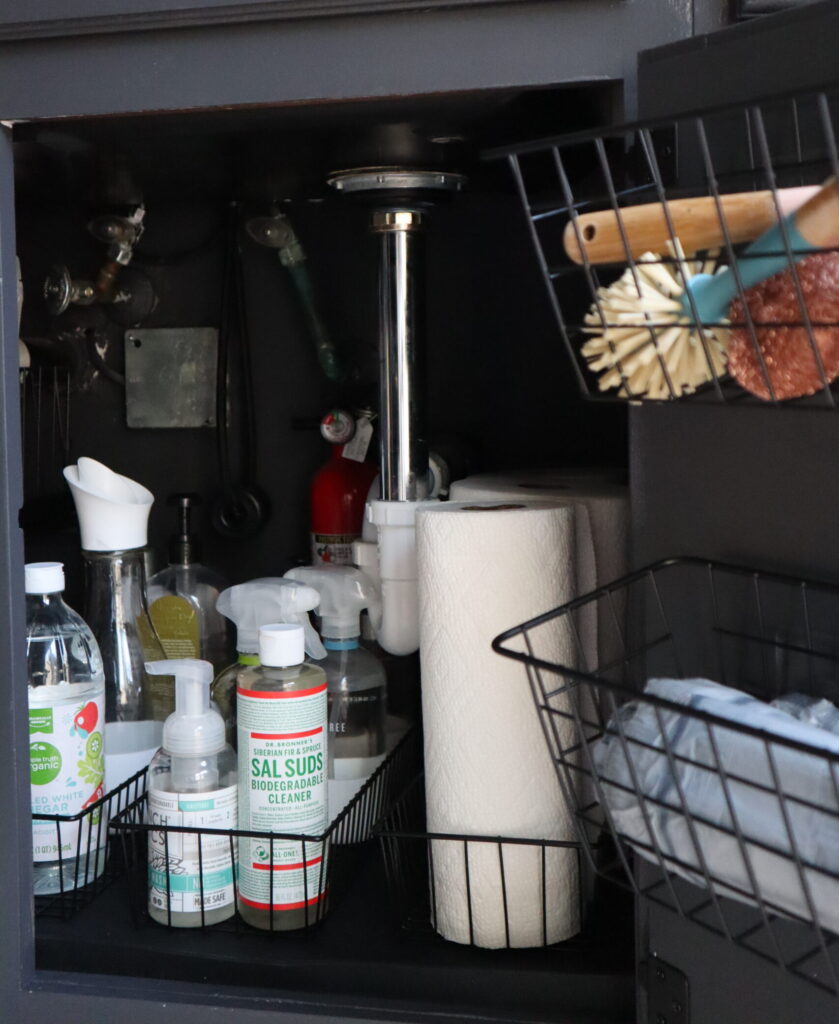
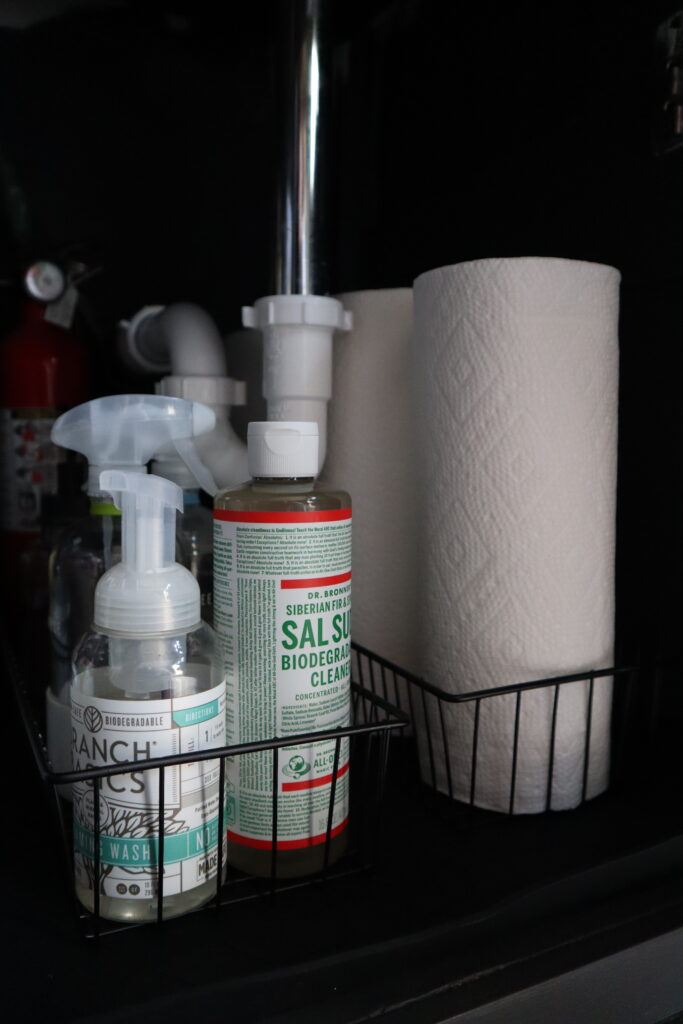
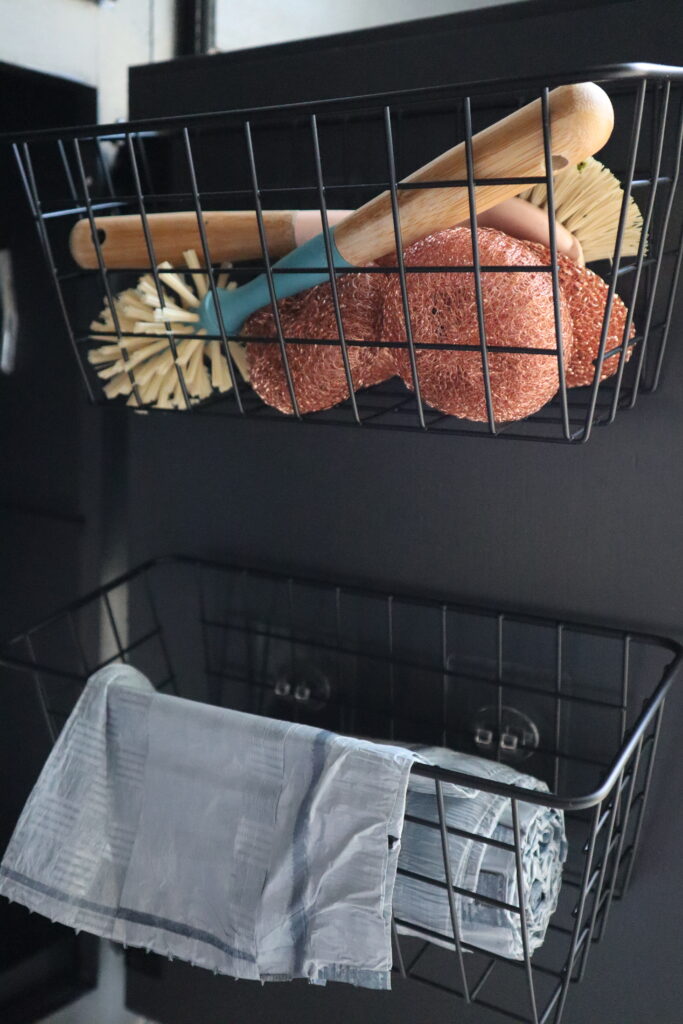
The most important and useful item I bought from Amazon was this black waterproof mat. It is a complete game changer and keeps my cabinet protected from any potential water damage. It’s also super easy to clean and helps to keep things organized and tidy. After the mat is placed into the cabinet, start setting up your organization drawers and bins/baskets. I tried to keep my sponges, towels ands scrubbers in one area and placed my all purpose spray (Branch Basics all the way!) and dish soap at the front of the cabinet since I use them a lot. I also hung up some organization shelves on one of the cabinet doors as well as some cute adhesive hooks. The shelves and hooks really did help to maximize space in my cabinet!
Overall, I loved the way this turned out. I feel so much better getting this space organized and can finally check this off my to do list! The space is definitely more practical and convenient and not to mention, clean! Now it’s super easy to see when I am running low on something because everything is visible.
